Setting up a Florin holding account
Step 1
Open your florin wallet and start the process to create a holding account

Click on the plus sign behind the Holding area to start the screen where you can set up your holding account.
Step 2
Configure the Holding account to your desire
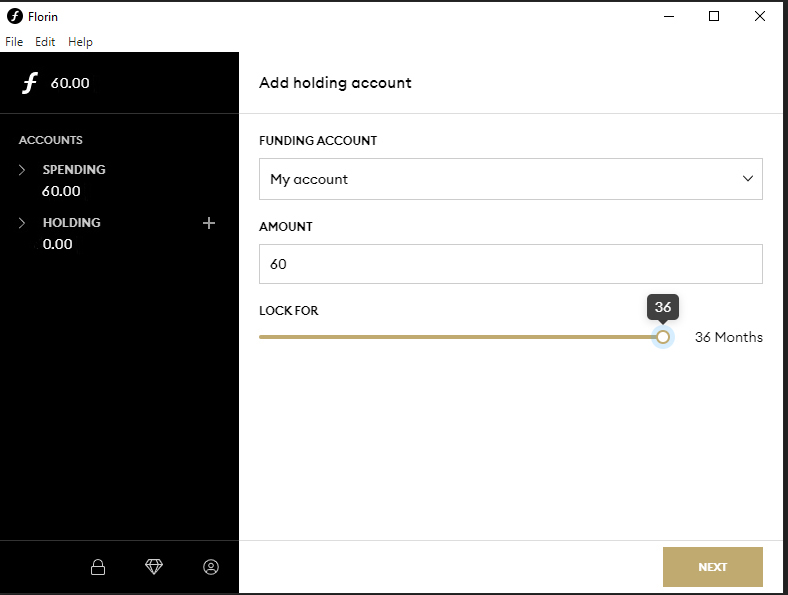
In the ‘Add holding account’ screen, you will see a simple setup with three options to set up:
- Funding account. This is the account where your XFL are now. If you don’t see any selectable account here, you don’t have an account with sufficient XFL to start a Holding account (minimum is 30XFL). It could also be that you just send the XFL to the account you want to use as a funding account. If so, please wait 30 minutes and try again. The transaction to your wallet needs to be fully confirmed by the blockchain before you can spend them.
- Amount. This is the amount you want to lock. The minimum is 30XFL. The user interface will prevent you from going lower than 30XFL
- The “Lock For” slider. This determines for how long you want to lock the XFL. Please note that the lower your amount you entered at 2 is, the longer your lockperiod needs to be. The User Interface prevents you from locking your XFL with a weight that would result in hardly any rewards from the network.
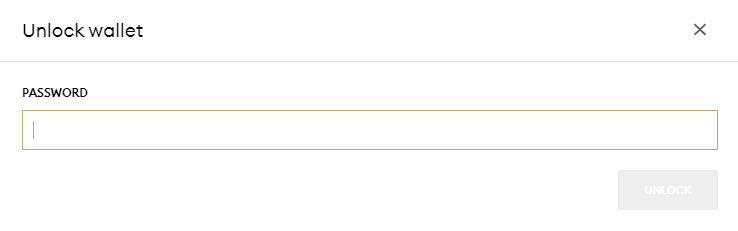
Once you have adjusted the settings, press NEXT. The wallet will ask for your wallet password if you have set one. (NOTE: this is not your 12 word recovery sentence, but the password you set yourself to protect your wallet.
Step 5
Check the holding account you created
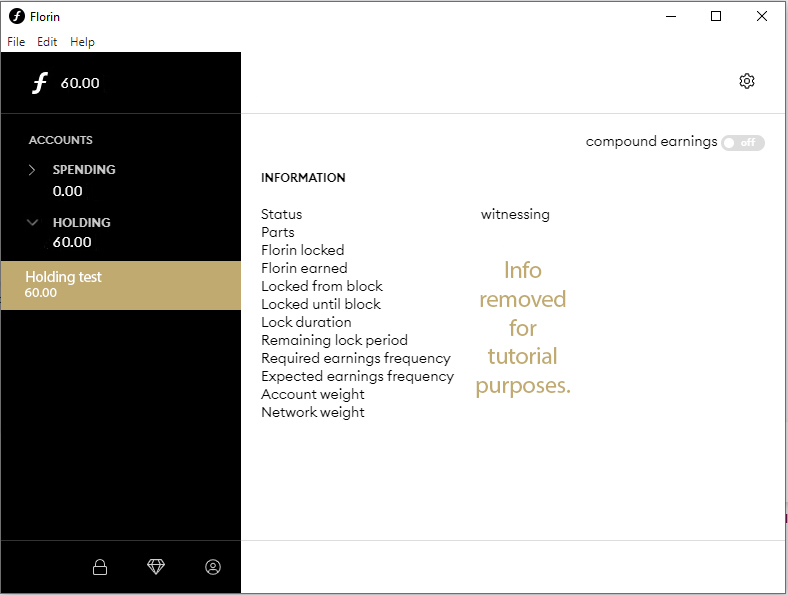
You’re holding account is now created. For this tutorial we removed the data from the information page.
There is one important setting. The switch to toggle ‘Compound Earnings’ on or off.
Step 6
Making sure the system can reach your holding account
To be able to support the network and get rewards, the system must be able to contact your holding account. This can be done in two ways:
- Leave your wallet up and running 24/7 on your desktop / mac / server
- Import your holding key into a cloud service like Holdin.com. (For a tutorial on how to use Holdin.com, please read this)
If you use option 1, this is the end of this tutorial, good luck! If you want to use option 2. Please read further at Step 7.
Step 7
Importing your holding key on a cloud service to be online 24/7
Since your wallet has to be up and running 24/7 to get the maximum result of your holding account and not everybody wants their PC running all day long, a third party is offering a hosting cloud holding system called G-dash Cloud.
There are no fixed costs for using G-dash cloud, but a small free is deducted of every reward you get through their cloud holding system.
Step 8
Create a G-dash cloud account
- Go to https://novo.g-dash.nl/
- Enter your mail address, press ‘Sign up’ and follow the steps on your screen
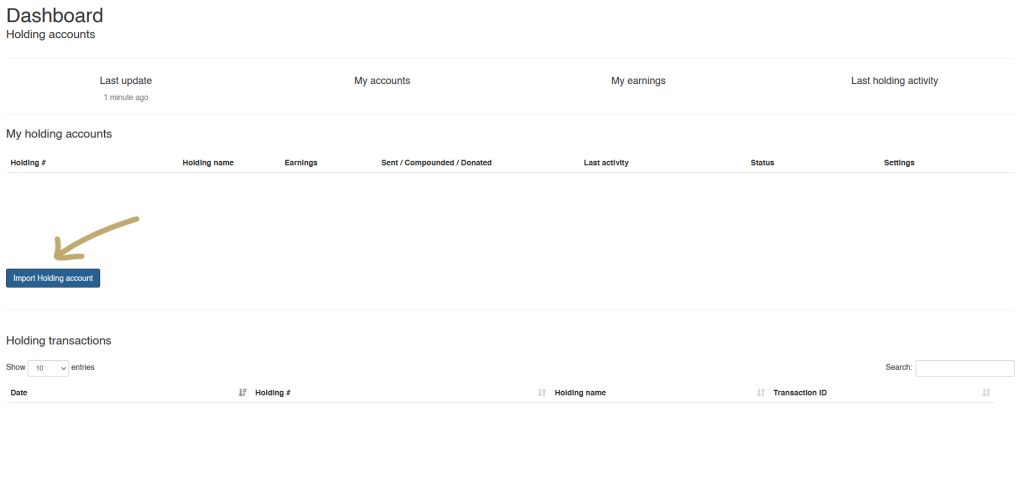
- Once logged in, go to the dashboard.
- Press the ‘Import Holding account’
Step 9
Enter your holding account details
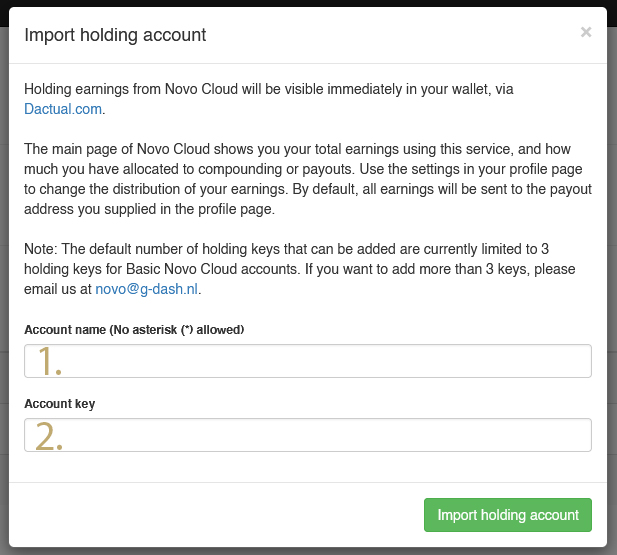
The popup showing now asks you to enter the account details. At 1. the Account name is just any name you want the account named in G-dash cloud, so not really important.
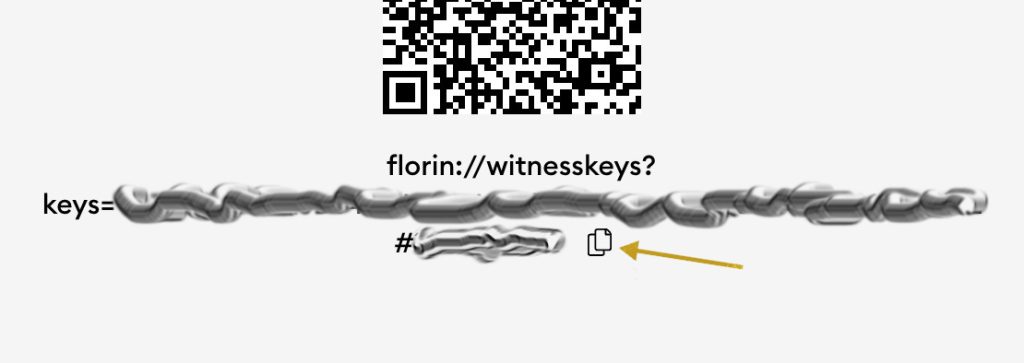
At step 2. you have to enter your Florin read only holding key. You have to fetch that in your Florin wallet. In your wallet go to your holding address and click the Settings icon (gear icon) in the top right. On the next page you will see a QR code and a sentence starting with florin:// , the last one is the key you are looking for. You can copy it to your memory by clicking on the Copy button behind the sentence. And then paste it in the popup at the Account key field. After that press Import holding account. You will return to your dashboard where your Holding account is now added to the cloud and is up 24/7.